- Outline
- Draft
- Let it sit
- Revision 1
- Passive voice check
- Pacing Readthrough
- Alpha Reader(s)
- Revision 2
- Edit
- Beta Reader(s)
- Revision3/Edit
- Let it sit
- Additional Revisions as you wish
- Compile Manuscript
- Post-processing
- Grammarly or other helper
- Hemingway
- Format
- Word
- Scrivener
- Kindle Create
- Proofread
- Copy Edit
- Apply fixes
- Now you’re getting pumped
- Commission or otherwise design cover/art
- Kindle Cover Creator
- Adobe Illustrator
- Krita
- Blender
- KDP
- Populate Author Page
- Create eBook and Print titles on your bookshelf
- Make sure the details match!
- Preview eBook in browser/pdf proof
- Preview Print book in browser/pdf proof
- Note: I had to apply a temporary cover to get my page count in print form. I’m not sure if there’s a better way to do that! Either way, I just went back when my cover was ready and resubmitted.
- Fix issues
- Submit
- Wait…
- Buffer…
- Process…
- You’re live!
- Marketing… that’s a whole gnarly beast I’m still tackling myself so…
Breaking out the process
I’m sure this will get streamlined as I continue to release books. I hope that my process is honed quickly as I have planned a pretty aggressive pace for myself – a novel every two months until I reach twenty.
Yes.
That’s right. Death wish.
Now I’ll tackle that notion in another blog post so we can move on with the basic process. I’m going to repeat the bullet list below and give notes that I hope will be helpful to other debut indie authors. I’ve only used Amazon so far, so this is KDP centric, but many steps should port over to other options.
- Outline
- I did not outline my first novel but ended up rewriting the whole thing, once because of #life and a second time because it needed the love. How Black the Sky, my debut release, is actually my second novel.
- This one was outlined, but it was very slim. Check Dan Wells 7 Point Structure.
- What this did for me was to help keep me from stalling out as this was a NanoWrimo novel. It worked!
- You do what works for you, but remember that momentum is never bad.
- Draft
- I did the 50k draft for Nano month and expanded to 75k words on the first revision.
- This had the interesting effect of solidifying the pace for me and allowing me to choose where world and character building should land. It works for me and we’ll see how readers feel.
- Let it sit
- Always good, but be careful you don’t lose interest and get shiny object syndrome with something else. Value the work and commit to coming back.
- Revision 1
- Did you skip sections? Did you neglect research because you were in the middle of a heated sprint? Now’s the time to fix things up.
- Passive voice check
- Rather than search for passive voice, repeated words, etc. entirely with my eyes, I used the find word function so that ‘was’ ‘were’, etc. were highlighted on my read through.
- It really helped me to find passive voice as I also checked for other issues. I do edit as I go. I feel it helps me stay on track with proofing/copyediting when it’s not a slog, all at once.
- Pacing Readthrough
- Read aloud, especially dialog.
- And/or, use a program like Scrivener to compile your draft into an epub. Load it up into Google Books and have the machine read it to you!
- This sounds odd but it really did help me to feel the pace of the thing. It also highlighted certain odd phrases and various typos.
- Alpha Reader(s)
- If you have one that you trust, use ’em! This was when I sent mine off to make sure the concept came across.
- Revision 2
- Here I addressed the readers’ notes.
- Passive voice check
- You’ve added material, or rewritten bits and bobs. This must be done again, along with whatever editing you like.
- Edit
- Perform any edits you know need done but haven’t tackled along the way.
- Beta Reader(s)
- Do you have any betas? CPs? Now’s a good time.
- Revision3/Edit
- Apply the wisdom you gain from the point above.
- Let it sit
- You don’t have to but it’s never bad in my opinion.
- Additional Revisions as you wish
- Self explan
- Compile Manuscript
- You’re done when you feel you’re done. Especially in our current climate, I feel deeply that no time should be wasted. There may be better writing than your out there, but there’s also worse. Do try to gain self-awareness, but don’t let yourself be afraid to commit to release so you can get on with the next book!
- Post-processing/Copy Edit
- Grammarly or other helper
- This is a nice way to get a different perspective on your bad habits. Use it as you go or feed the helper your chapters all at once.
- Hemingway
- Looking to try this for myself actually, but have not yet. I hear good things.
- Format
- Word
- Scrivener
- I love Scrivener! I write in Google Docs, keeping chapters separate, then compile into one long doc for KDP. It worked wonderfully with my MS.
- (Edit) I did that for a few books but am recently using word. Still use Scrivener to generate epub preview copies.
- Kindle Create
- I did use this. I know some people don’t like it, but I appreciated the clean result and tightly controlled set of options. There are things you may need to do before this step (certain image uses was one of my things) but it really finished my book up nicely. Up to you!
- Proofread
- Check it out before you upload.
- Apply fixes
- Now you’re getting pumped
- I’ts almost over! Or is it…
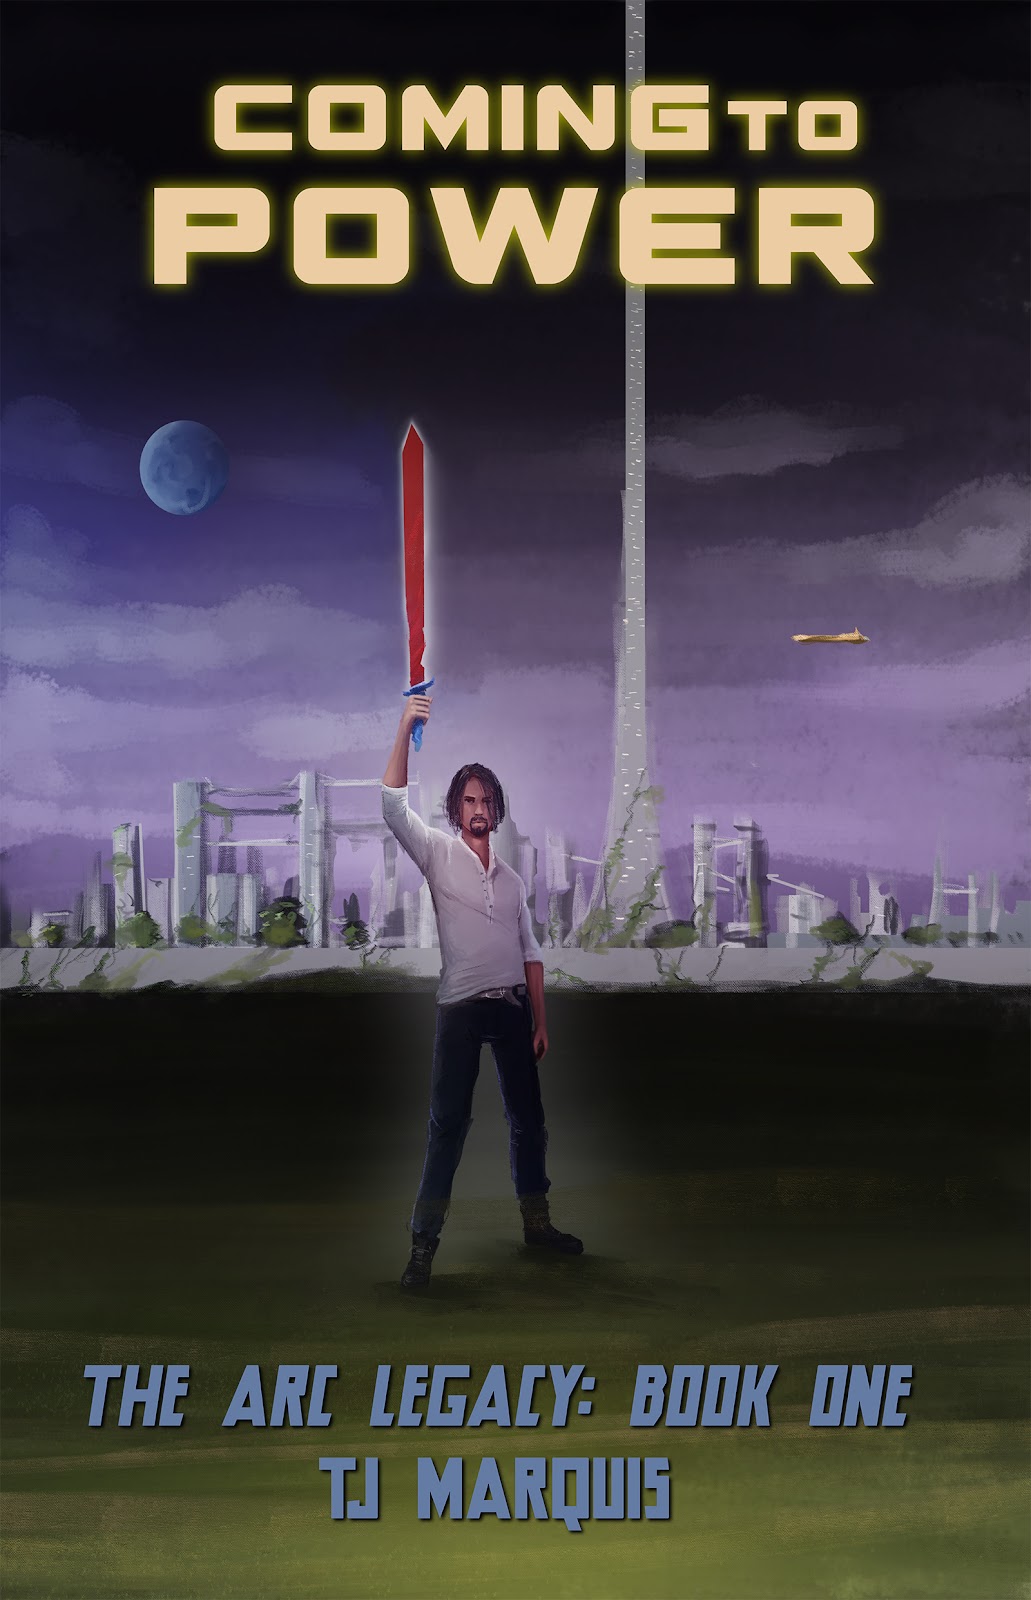
- Commission or otherwise design cover/art
- Kindle Cover Creator
- Seems fine for a mockup, but you can do better!
- Adobe Illustrator
- Nice and clean, worth learning the basics in. I was able to use it to recolor the artist’s vector work to my liking rather than adding revisions to my base cost.
- Krita
- Super fun to color in if nothing else lol. But it’s a good free alternative sort of halfway between Photoshop and Illustrator. I made the art for one of the short story covers myself with this and it wasn’t horrible!
- Blender
- Surprisingly useful for mockup if not a final cover. Combination of 3D, lighting, images as planes, and text. I will probably do a tutorial at some point because I know Blender can seem scary.
- KDP
- Populate Author Page
- Create eBook and Print titles on your bookshelf
- Make sure the details match!
- My subtitle on the Paperback is different than the ebook – whoops!
- Preview eBook in browser/pdf proof
- Takes a while but must be done.
- Preview Print book in browser/pdf proof
- Note: I had to apply a temporary cover to get my page count in print form. I’m not sure if there’s a better way to do that! Either way, I just went back when my cover was ready and resubmitted.
- Fix issues
- Something wrong? Go back and repeat the related step.
- Submit
- Wait…
- Buffer…
- Process…
- You’re live!
Let me know how you’ve tackled the process, or what your plans are.
Whatever else you do, keep writing!
And when you’re not writing, read my books on Kindle Unlimited or buy them here.


No comments:
Post a Comment